
Concrete might not be the first material that comes to mind when dreaming up DIY projects, but it’s time to change that perception. With a little creativity and some elbow grease, anyone can transform this sturdy substance into stunning, functional pieces for their home or garden. From stylish planters to chic furniture, concrete offers endless possibilities that’ll make friends wonder if you’ve hired a professional.
Overview of Concrete DIY Projects
Concrete offers versatility in various DIY projects. Homeowners and hobbyists can create practical items like garden planters and furniture. Attractive planters can enhance both indoor and outdoor spaces with their unique textures and shapes. Additionally, creating custom furniture pieces brings a modern touch to living areas.
Concrete projects can range from simple to complex. Small items like coasters and candle holders require minimal skill and tools. Larger endeavors, such as outdoor benches or tabletops, demand more planning and effort but result in striking focal points. Each project provides opportunities for personalization and creativity.
Additionally, concrete’s durability makes it an excellent choice for outdoor applications. Weather-resistant features ensure longevity, while simple maintenance keeps projects looking fresh. These aspects make concrete ideal for garden installations like birdbaths and patio pavers.
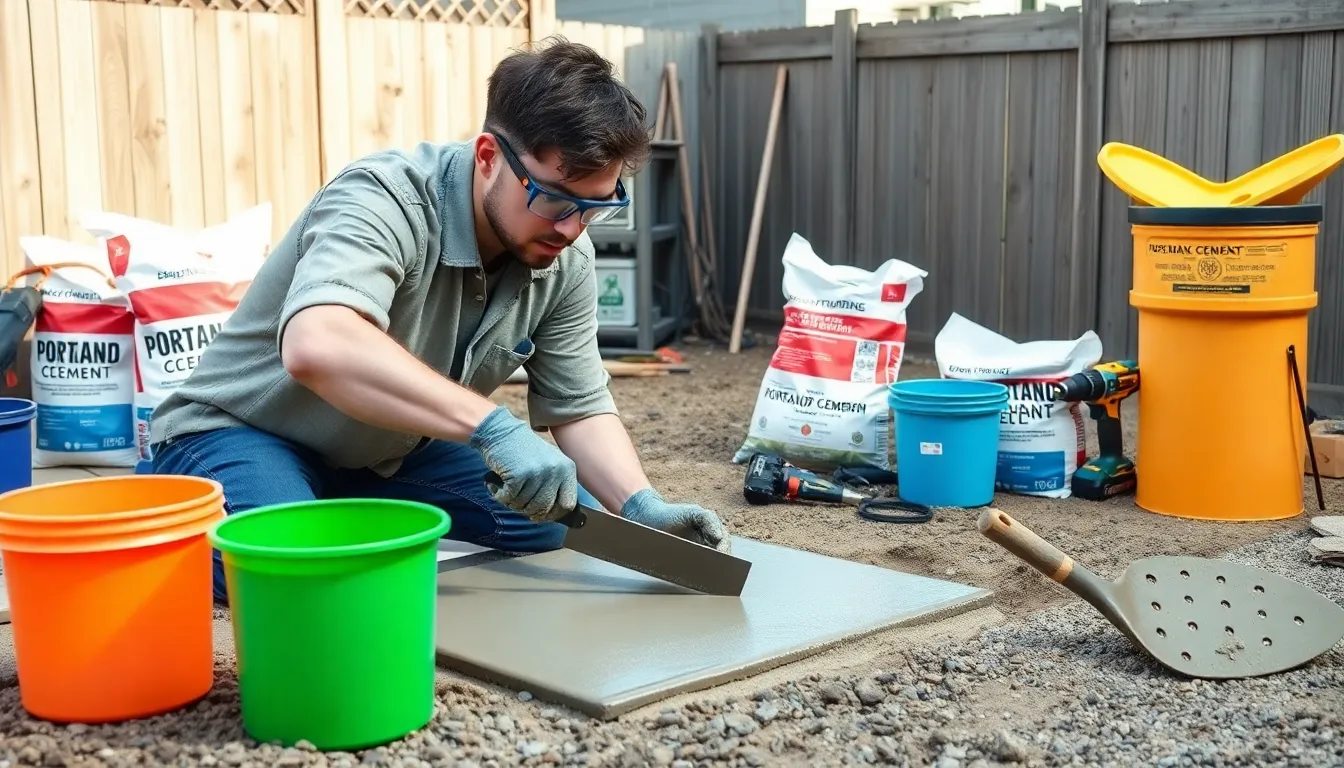
Safety should always be a priority. Using protective gear, like gloves and masks, prevents accidents during mixing and pouring. Following recommended guidelines for concrete mixing enhances the overall success of each task. Resources are available, including tutorials and forums, to assist beginners in mastering concrete techniques.
Success in concrete DIY projects encourages innovation. Discovering new recipes for concrete mixtures can lead to various textures and finishes. This exploration can elevate projects beyond basic functionality and create artistic expressions for the home or garden. Embracing concrete as a medium empowers individuals to craft significant and beautiful projects tailored to their unique tastes.
Essential Tools and Materials
Successful concrete DIY projects require specific tools and materials, ensuring smooth execution and quality results. Knowing what to use makes the process easier and more enjoyable.
Tools Needed
A level provides accurate measurements for even surfaces. Trowels and floats smooth the surface of poured concrete, ensuring a polished finish. Buckets are essential for mixing and measuring water and concrete. A drill assists in creating holes for hardware or supports, while gloves protect hands from materials. Safety goggles safeguard eyes against dust and debris. Lastly, a mixing paddle simplifies the blending of concrete mixtures, enhancing consistency.
Materials Required
Portland cement serves as the primary binding agent for concrete mixtures. Sand and gravel provide the necessary aggregate, ensuring strength and durability. Water activates the cement, initiating the curing process, so precise measurements are crucial. In addition, additives like plasticizers enhance workability in specific applications. Sealants protect finished pieces from the elements, extending their lifespan. Color pigments can be included to customize the aesthetics of the project, allowing for unique designs.
Simple Concrete DIY Projects for Beginners
Concrete offers versatile options for DIY enthusiasts. New projects can enhance both functionality and aesthetics in any space.
Concrete Planters
Creating concrete planters provides an artistic outlet. Begin by selecting a mold, such as plastic containers or silicone molds. Mixing one part Portland cement with two parts sand and water creates a workable consistency. Pour the mixture into the chosen mold, leaving space for drainage holes. For added creativity, incorporate color pigments into the mix. Let the mixture cure for 24 to 48 hours before removing it from the mold. Final touches can include sealing the surface for durability. These planters lend a modern touch to gardens or indoor spaces.
Concrete Coasters
Concrete coasters serve as practical and stylish additions to any home. Choose coasters by using small molds or trays. A simple mixture of Portland cement, sand, and water forms a solid base. Fill the molds with the mixture and allow it to set for about 24 hours. Consider personalizing coasters with stencils or stamps before the mixture hardens. Once cured, sand the edges to achieve a smooth finish. Sealing the coasters with a waterproof sealant ensures longevity and prevents staining. These coasters protect surfaces while showcasing unique designs.
Intermediate Concrete DIY Projects
Intermediate concrete DIY projects offer a chance to expand skills while creating functional pieces. These projects combine aesthetics with durability, enhancing any home or garden.
Concrete Side Table
Creating a concrete side table adds a modern touch to living spaces. Gather a sturdy mold, and mix Portland cement, sand, and water to form a strong composite. Pour the mixture into the mold, ensuring an even distribution throughout. Adding color pigments during mixing introduces personal flair. Allow the concrete to cure for at least 24 hours before carefully removing it from the mold. Sand any rough edges for a smooth finish. Seal the surface with a sealant for durability and water resistance. This project not only provides a stylish accent piece but also showcases craftsmanship.
Concrete Garden Edging
Concrete garden edging defines garden spaces while providing structure. Start by shaping the desired design with wooden or metal forms set in place along garden borders. A mix of Portland cement, sand, gravel, and water creates a robust material. Pour the mixture into the forms, making sure it’s level and well distributed. Incorporate color pigments if desired for an additional aesthetic appeal. Curing takes about 48 hours before removing the forms. Finish by sealing the edges, ensuring they endure various weather conditions. This practical project enhances garden aesthetics while promoting organization in outdoor areas.
Advanced Concrete DIY Projects
Advanced concrete DIY projects deepen skills and lead to unique home enhancements.
Concrete Countertops
Concrete countertops offer a durable and customizable option for kitchens and bathrooms. To create these surfaces, individuals mix Portland cement with sand and water, then pour the mixture into molds designed for the desired shape. Adding color pigments enhances aesthetics, allowing for personalization. Using specialized tools like trowels and floats achieves a smooth finish. The curing process requires careful attention, ensuring the countertops gain strength over time. Sealing is crucial to protect against stains and moisture, extending the lifespan of the final product.
Decorative Concrete Flooring
Decorative concrete flooring transforms living spaces with style and durability. The process begins by preparing the existing floor and pouring a concrete mixture. Techniques such as stamping or staining add patterns and colors, providing unique designs that mimic natural materials. Using sealants ensures durability and ease of maintenance. Homeowners can opt for polished finishes for a modern look or textured finishes for a cozy atmosphere. Proper planning and execution turn concrete floors into stunning focal points within any room, highlighting the versatility of concrete as a flooring option.
Tips for Successful Concrete DIY Projects
Successful concrete DIY projects require careful attention to mixing techniques and proper curing. Utilizing best practices helps ensure durability and aesthetic appeal.
Mixing and Pouring Techniques
Achieving the right consistency starts with accurate measurements. Combining Portland cement, sand, gravel, and water in specific ratios creates a strong mix, typically around 1 part cement, 2 parts sand, and 3 parts gravel. Mixing thoroughly eliminates clumps and results in a smooth texture. Pouring the mixture into molds demands a steady hand; ensuring an even layer prevents air pockets. Additionally, vibrating the mold helps settle air and enhances strength. For big projects, consider using a wheelbarrow to transport and pour efficiently. Always check local guidelines to confirm compliance with safety protocols.
Curing and Finishing Tips
Curing concrete properly optimizes strength and longevity. Keeping it moist for at least seven days allows for optimal hydration. Covering a newly poured surface with plastic sheeting can prevent moisture loss. Finishing techniques enhance visual appeal and durability; this includes sanding edges and applying sealants after the surface dries fully. Applying a sealant protects against stains and moisture while enhancing color. For polished finishes, consider using specialized tools designed for concrete. Staying patient during the curing process pays off with beautiful, lasting creations.
Concrete offers endless possibilities for DIY enthusiasts looking to enhance their living spaces. With its durability and versatility, it’s an ideal material for projects ranging from simple coasters to elaborate countertops. Each project allows for personal expression and creativity, ensuring that every piece is unique.
By following safety guidelines and utilizing the right tools, anyone can achieve professional-looking results. Whether a beginner or an experienced DIYer, embracing concrete can lead to stunning home and garden transformations. The journey of working with concrete not only builds skills but also fosters a sense of accomplishment and pride in crafting beautiful, functional items.