
Table of Contents
ToggleImagine transforming that neglected corner of your home into a cozy nook where you can sip coffee, read a book, or simply stare out the window and contemplate life’s mysteries. A DIY window seat isn’t just a design trend; it’s a lifestyle upgrade. Who wouldn’t want a personal retreat that doubles as a stylish conversation starter?
Benefits Of A Window Seat DIY
Creating a DIY window seat enhances both the functionality and beauty of any space. This addition not only serves as a retreat but elevates the overall vibe of the home.
Aesthetic Appeal
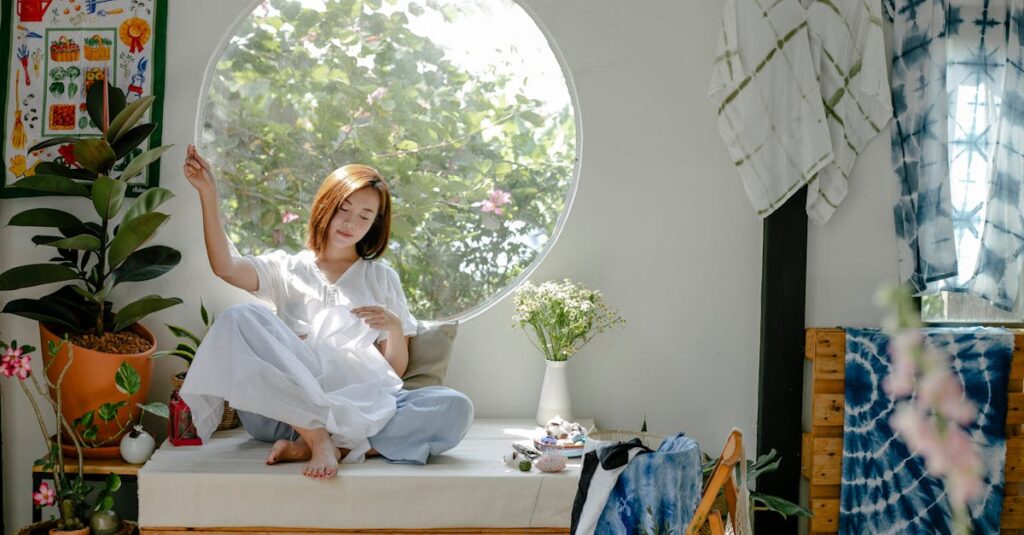
Designing a window seat introduces charm and character to a room. A well-styled nook enhances natural light, making the space feel larger and more inviting. Combining materials like wood, fabric, and pillows can showcase personal style while providing comfort. Customizing colors and patterns aligns with existing decor, enhancing the overall aesthetics of the home. Unique designs can even become a focal point, drawing attention and sparking conversation among guests.
Space Optimization
Utilizing a window seat maximizes underused areas in homes. The design often incorporates storage, making space more practical and organized. People can store books and blankets within the seat, clearing up clutter in living spaces. This solution transforms corners or alcoves into functional spots for relaxation or reading. When designed thoughtfully, a window seat integrates seamlessly, serving as both seating and storage, ultimately enhancing the overall flow of the room.
Materials Needed For Window Seat DIY
Creating an inviting window seat requires careful selection of materials. Below are the essential components to consider for a successful installation.
Wood Selection
Choose durable wood for the frame and seat. Plywood offers affordability and ample strength, while hardwood like oak or maple adds elegance and longevity. Select weather-resistant options like treated lumber if the window seat is near moisture. Ensure the wood surface is sanded for a smooth finish. Finally, consider thickness; using at least three-quarter-inch boards provides stability for the seat.
Upholstery Options
Consider fabrics that enhance comfort and style. Upholstery can include options like cotton canvas, linen, or outdoor fabric for moisture resistance. Sunbrella fabric resists fading and is easy to clean, making it ideal for sunny spots. Select cushioning carefully; high-density foam provides support and durability. Patterns and colors should align with existing decor to create a harmonious look.
Step-By-Step Guide To Building A Window Seat
Creating a window seat involves careful planning and execution. Follow the steps below to construct a functional and stylish addition to your home.
Measuring The Space
Start by determining the dimensions of the window area. Measure the width, height, and depth available for the seat. Ensure measurements account for any trim or wall variations. Consider any existing furnishings that could impact placement. Accuracy in measurements prevents issues later in the process. It’s essential to envision how the seat integrates within the room’s overall flow and aesthetics.
Constructing The Frame
Choose sturdy wood for the frame construction. Use plywood for an affordable option or select hardwoods like oak for sophistication. Cut pieces to match the previously measured dimensions. Assemble the frame using screws or brackets for added stability. Ensure all corners are square and secure. Add a supportive base to hold the cushion weight while maximizing storage space underneath. Verify that the overall design aligns with the style of the room for a cohesive look.
Adding Cushions And Finishing Touches
Select high-density foam for optimal comfort. Create a cushion cover using fabrics like cotton canvas or outdoor textiles for durability. Align colors and patterns with existing decor to maintain harmony. Attach the cushions securely on the seat to prevent shifting. Add decorative elements such as throw pillows to enhance visual appeal. Complete the look with small accessories, ensuring functionality doesn’t sacrifice style.
Tips For Enhancing Your Window Seat
Enhancing a window seat can elevate its functionality and aesthetics. Thoughtful additions maximize comfort and style.
Storage Solutions
Incorporating storage underneath the window seat creates a practical space. Built-in drawers or boxes provide easy access to books, blankets, or games. Customizing the design to fit the room’s dimensions optimizes every inch. Consider using decorative baskets for a chic look. Using lift-top benches balances storage with comfort. Adding dividers inside drawers helps keep items organized. Creative storage solutions keep the area tidy while enhancing the room’s appeal.
Decorative Accents
Selecting decorative accents personalizes the window seat area. Throw pillows in various shapes and patterns invite relaxation and add color. A plush blanket throws over the seat enhances coziness. Choosing a stylish rug underfoot can anchor the space and provide warmth. Artwork or photographs on nearby walls draw attention to the window seat. Lighting, such as a nearby floor lamp or string lights, adds ambiance for evening use. Thoughtfully curated accents create an inviting nook that complements the overall room design.
Creating a DIY window seat is a rewarding project that transforms any overlooked corner into a cozy retreat. It combines functionality with style while offering a personal touch that reflects individual tastes. By incorporating thoughtful design elements and practical storage solutions, a window seat not only enhances the beauty of a room but also optimizes space.
With the right materials and a clear plan, anyone can craft a comfortable and inviting nook. Whether it’s for reading, relaxing, or enjoying the view, a well-designed window seat becomes a cherished part of the home. Embracing this project allows for creativity and customization, ensuring the final result is both practical and aesthetically pleasing.